
Thursday 30 May 2013
Wednesday 22 May 2013
Surface Preparation Saga, New canoe Build, and Injury.
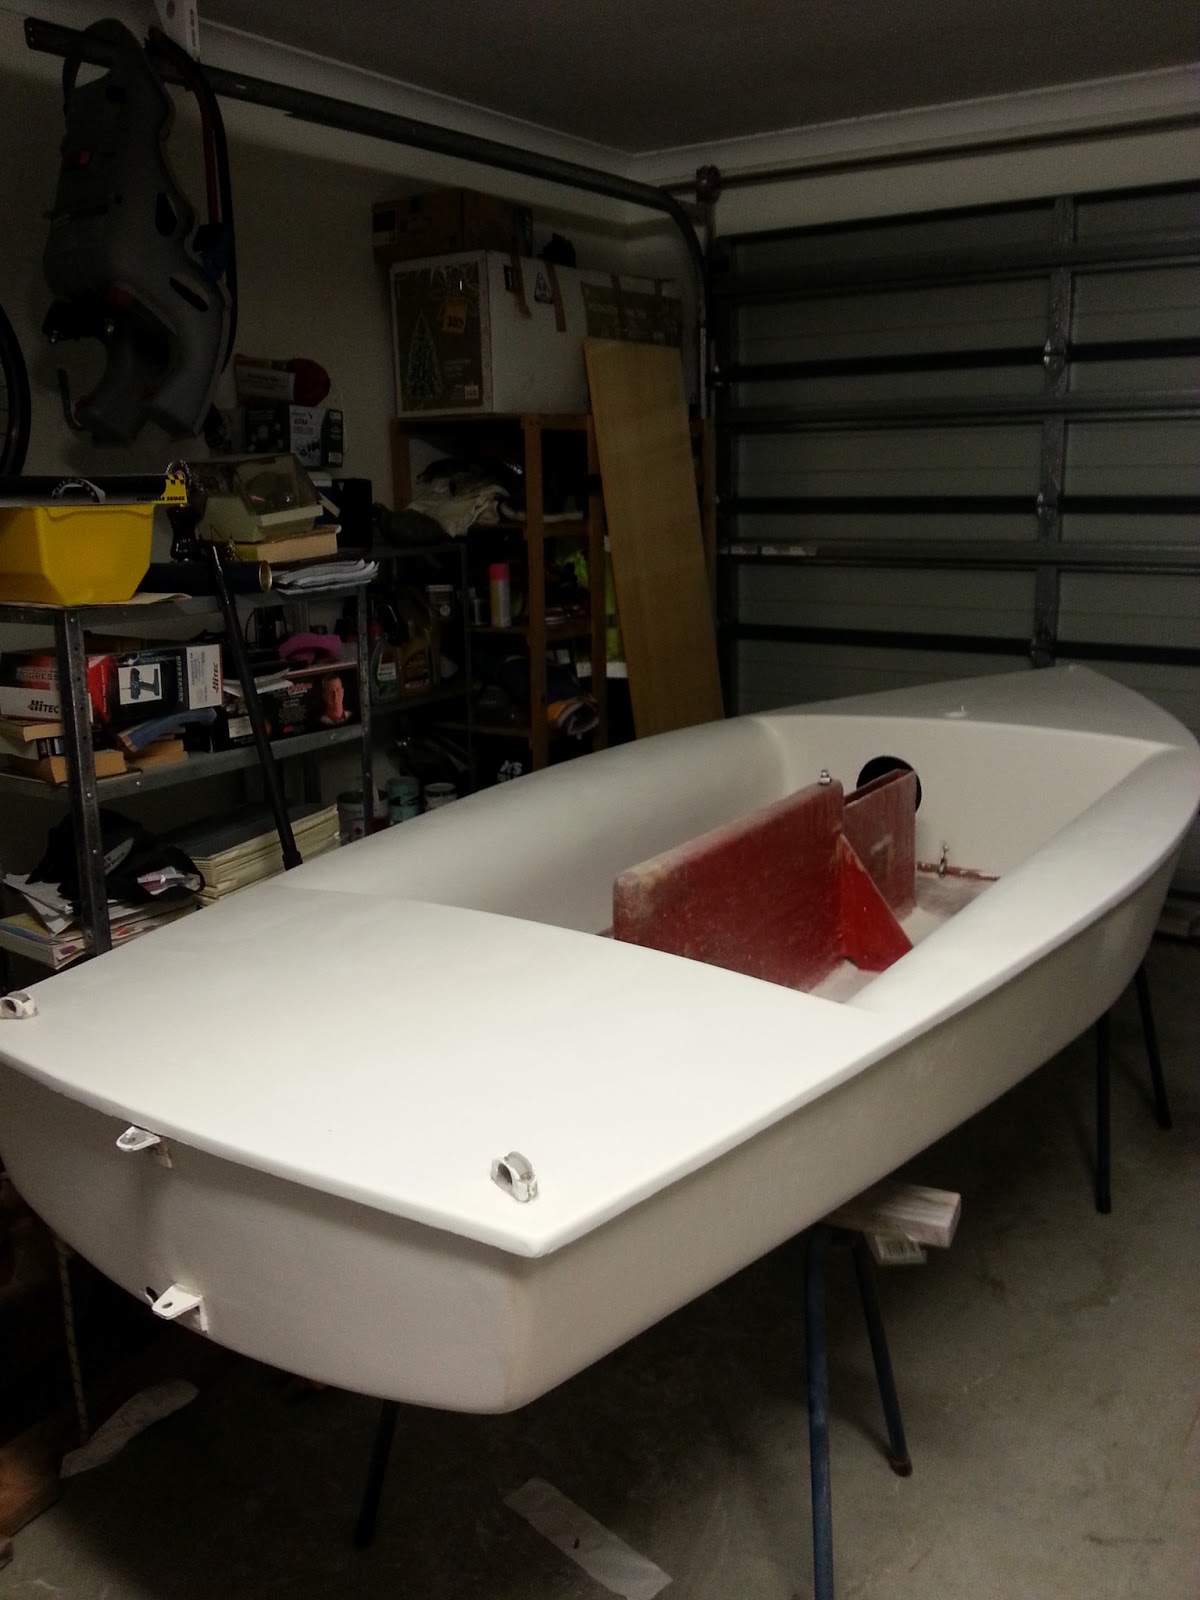
Last weekend I really wanted to get some top coat on the deck. I was showing Dad the work I had done so far and he asked why I hadn't removed the pad eyes on the transom. I said it was too hard to reach inside to get at the nuts to undo them. I had a better look at them and decided that they looked a bit too shabby so I cut them off with a hacksaw and filled the holes. While I had some epoxy mixed up i also filled in a few more spots that were not quite right.
Then I was ready to sand however the temperature was low and I am using the slow hardener from west so I had to be patient. Eventually I could sand so I sanded the deck and I have applied two more coats of international prekote. I am now really happy with the surface so all I need now is to sand and then start with the toplac topcoat. I am going to attempt to roll and tip to see how that turns out.
Also as interesting as watching paint dry is I started a stitch and glue canoe. I am using the free plans from bateau for a 14 ft canoe. This is my first boat I will have built and I wanted to see how the stitch and glue comes together and get a feel for it before starting the Tubby Tug.


It has come together and looks like a canoe. The ply panels don't line up quite as perfectly as they could. I think this was due to using duct tape to hold the panels in place while the hull is glued. The plans recommended the tape method however I really think I would of had a better result if I used cable ties or wire. I was working on saw horses but the taped hull was a bit flimsy so I moved to work on the floor. Well this was my undoing. I now have a sore back and all work has stopped until I can recover. Overall I am impressed with the canoe and look forward to finishing it off and messing around in it.
The Sanctuary Cove Boat Show is on again this weekend and just across the river so I might try and get along there to see what I can find of interest. I dont think I will do any work this weekend as I have some uni assignments to take care of as well.
Thursday 16 May 2013
Progress
No photos because it just looks the same. However the undercoat has dried and the deck is now much nicer and fairer. There were lots of imperfections last time. It is still not perfect but it is close to or better than good enough.
A light sand and some more undercoat and maybe a top coat this weekend might go well.
A light sand and some more undercoat and maybe a top coat this weekend might go well.
Tuesday 14 May 2013
More filling fairing and undercoat
After the last coat of undercoat it was apparent that there were quite a few areas that were far from perfect. Lots of sanding followed and another lot of epoxy fairing. More sanding and dust and then a coat of undercoat.
The photo below looks just like it did last time so I have dug around and found some other photos of the dinghy over the years.
 |
| Should be nicer than last time. |
 |
| Me sailing in the canal. I think I was 10 or 11 |
 |
| Original red hull |

 |
| Washing |


 |
| Dad making repairs to the centreboard. |
Friday 10 May 2013
Top Deck Undercoat
After more filling and sanding I have decided to put on a coat of primer on the deck. Its not perfect but maybe the fresh paint will help me see the areas that need a bit more work and the other areas that are good enough. Thank you Miss Roxy for helping.


"Silly Uncle Ryan"
My Brother Ryan going 96mph in the Bridge to Bridge last week. Matisse says, "Silly Uncle Ryan".


Wednesday 8 May 2013
Sail Dinghy Restoration
I've had this sailing dinghy for 24 years now. My Dad bought it for my brother and I with some money my grandparents sent for Christmas when I was seven. As kids we used to paddle around creeks and then we lived on the canal on the Gold Coast I sailed it around our back yard.
For all the abuse it received from my brother and I, and some dodgy gelcoat from when it was built when I was 14 I spent two weeks school holidays in a boat yard with a boat builder where I sanded, filled and faired the hull. The boat builder supplied teaching, all the material and sprayed the paint. The hull was a dull red tired gelcoat but now it was shiny smooth glossy white.
for the last 10 - 12 years it has been kept around with the intention of fixing it up. The deck was coming apart from the hull. There were a couple of holes in the deck, and the join inside the cockpit was delaminating in places.
So I began a restoration 3 years ago just after Matisse was born. It started out very dusty, and many small blisters were found. After lots of grinding, some fibreglass and epoxy adhesive the deck was once again joined to the hull and sealed. But then it sat idle and not much happened.
I then came across the Tubby Tug design, (there is a picture of one in the post below), I wanted to build one for Matisse to mess around in as she grows. My wife shook her head and said you need to finish that dinghy first before you start something else. So the last few weekends has seen work progress well on the sailing dinghy.
More glass added to some thin spots of the hull. The seat areas were filled with epoxy and micro balloons. The hull sanded again and some primer.
The deck is proving to be a bigger job though. Here are some photos, the deck is getting close to smooth and fair.


 |
| Seat Filled for Fairing |
 |
| This part looked dodgy so I will fill and make smooth. |
 |
| Boom Vang had nearly torn out here |
 |
| Blisters ground out and glassed |
 |
| Hole |
Monday 6 May 2013


Subscribe to:
Posts (Atom)